Getting Started Guide
A beginning to end guide on how to get started with Avelon

Andrew
Last Update 4 years ago
This article will guide you through how to get started. On average is takes user 3-minutes to get started.
Please note: these steps only apply to affiliates, not to brands/retailer. Please sign up as a retailer / brand to get started.
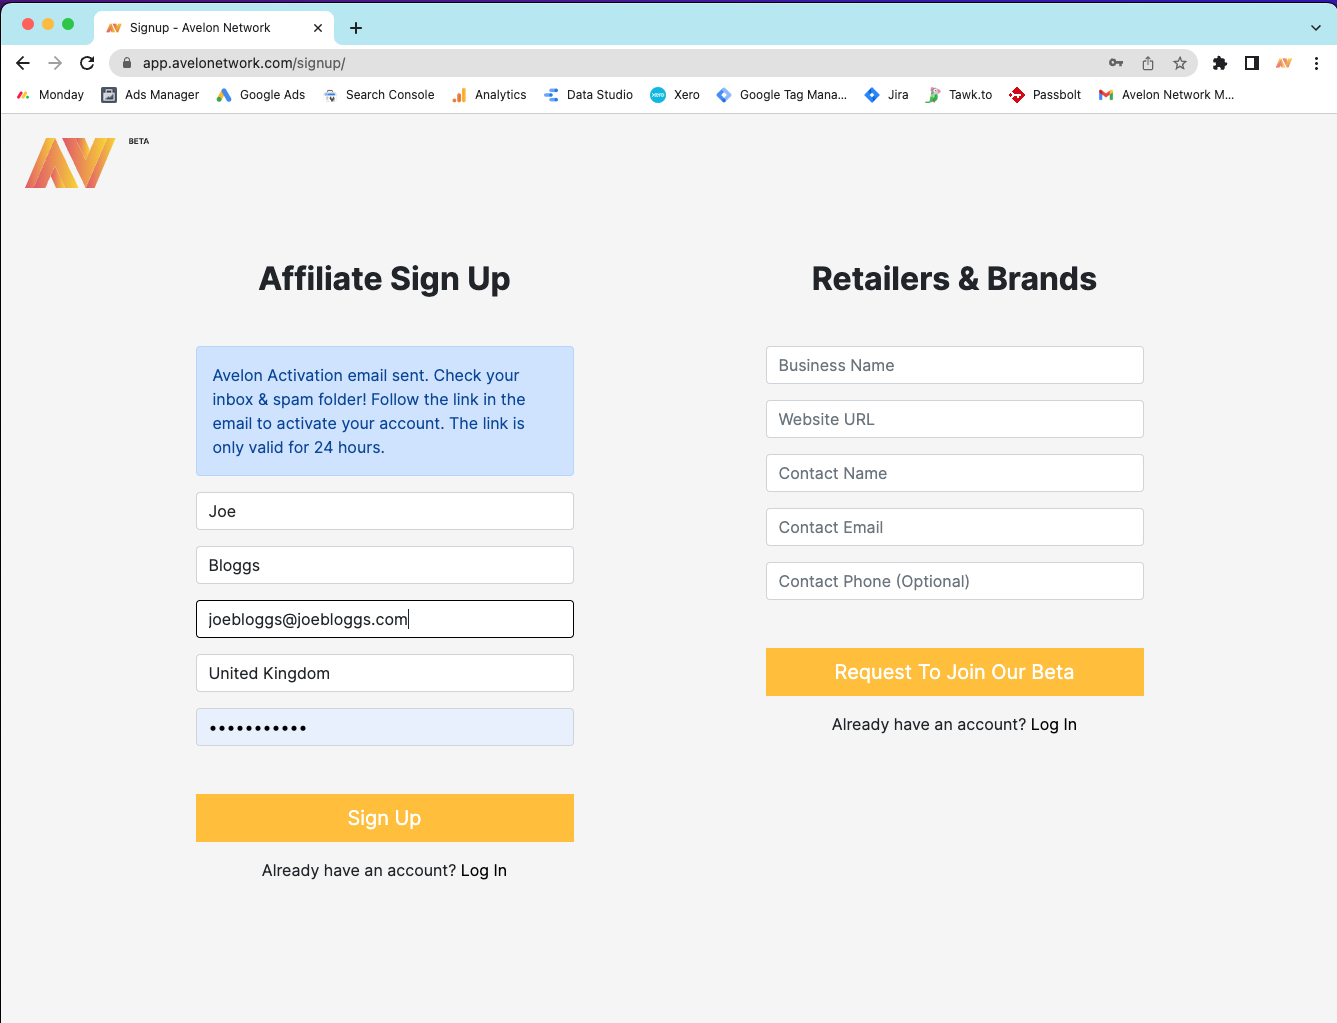
Step 1 - Sign Up
Sign up to the platform through the sign up link. You'll be required to enter your first name, last name, email address, country and a password. Once you press sign up, you'll be sent a confirmation email. When you receive this, click activate.
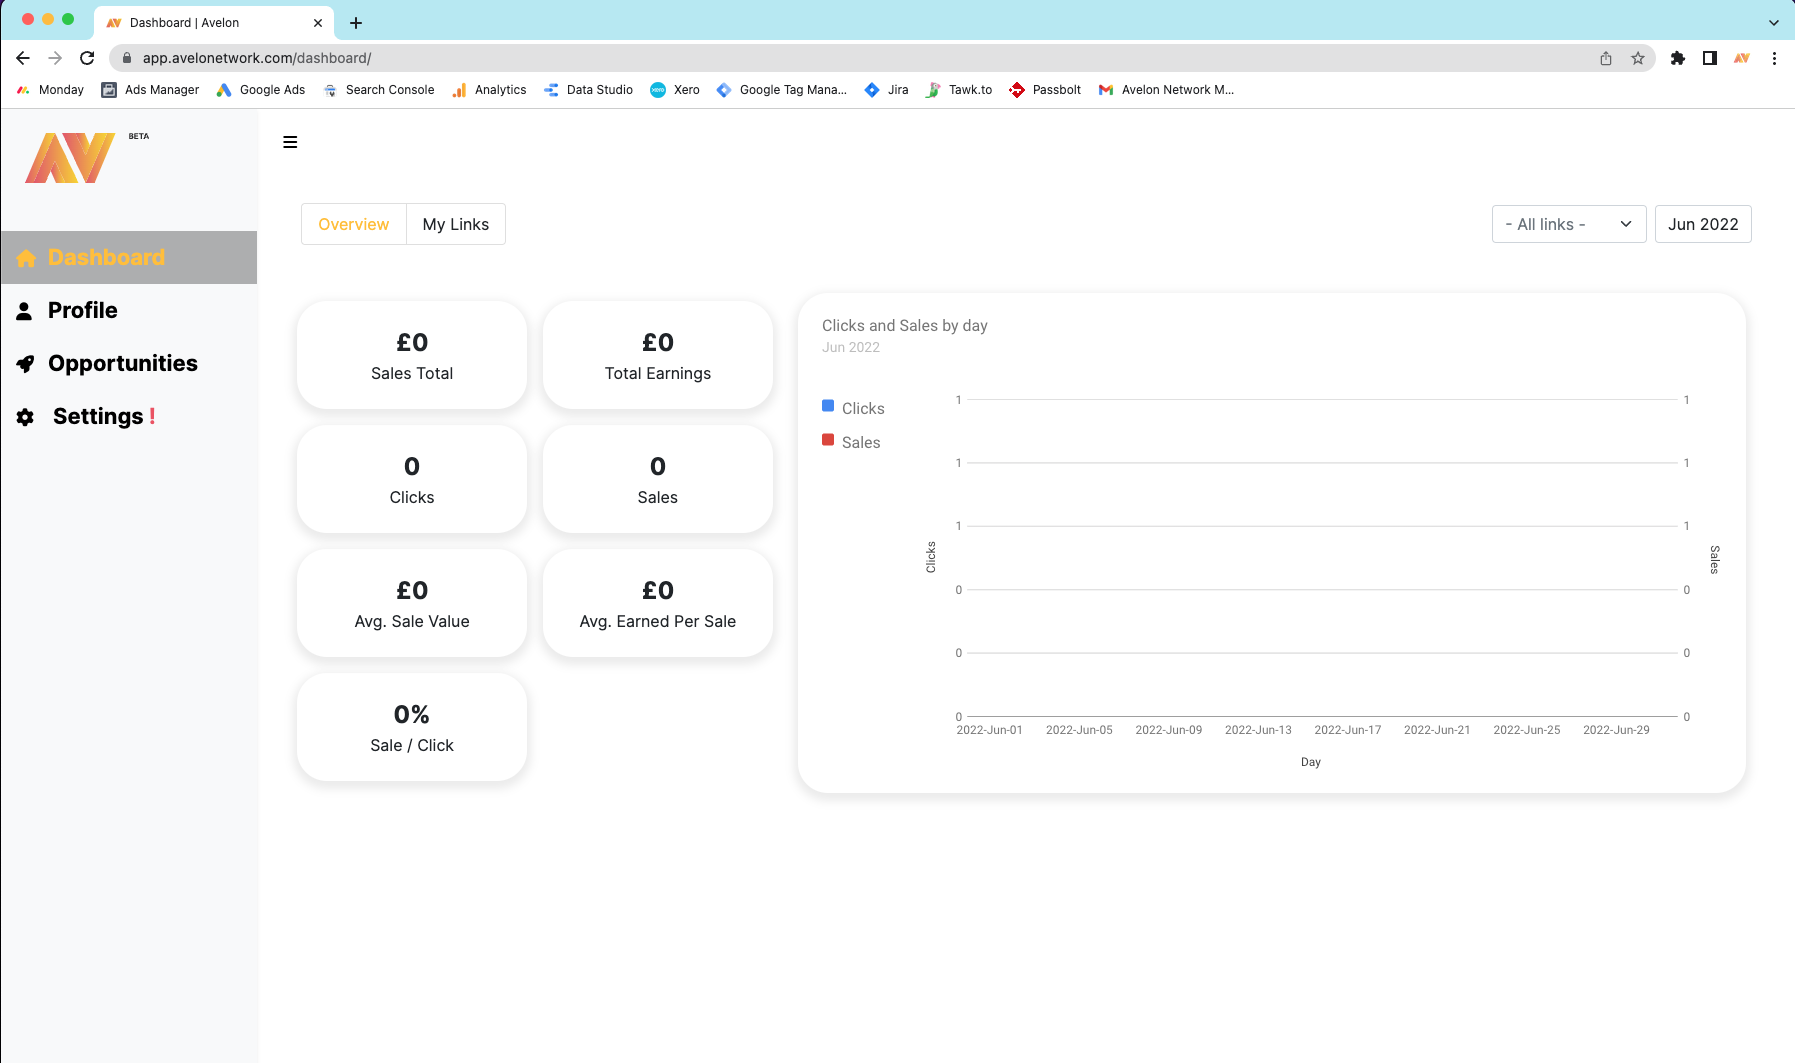
Step 2 - Log In
Log in by entering your email address and password. You'll be taken to the Dashboard.
The Dashboard holds all your basic information. For a full breakdown of your Dashboard, please visit our An Introduction To The Dashboard article.
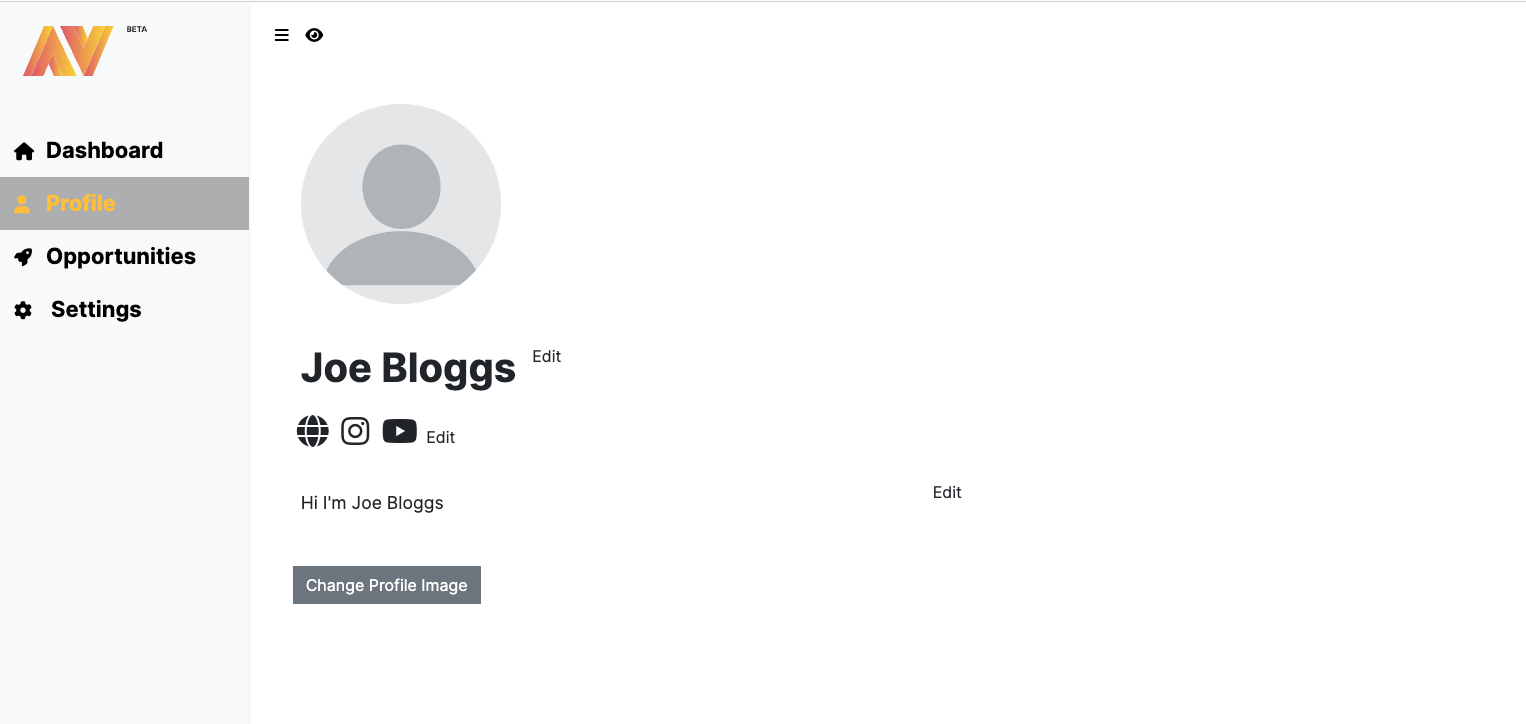
Step 3 - Edit Your Profile
Your profile is what brands / retailers will see when reviewing your application to their program. We recommend filling in your profile as best possible to increase the chances of being accepted.
In your profile, you can edit your:
- Profile Photo (512 x 512 pixels recommended)
- Website URL
- Instagram handle
- Youtube handle
- Biography
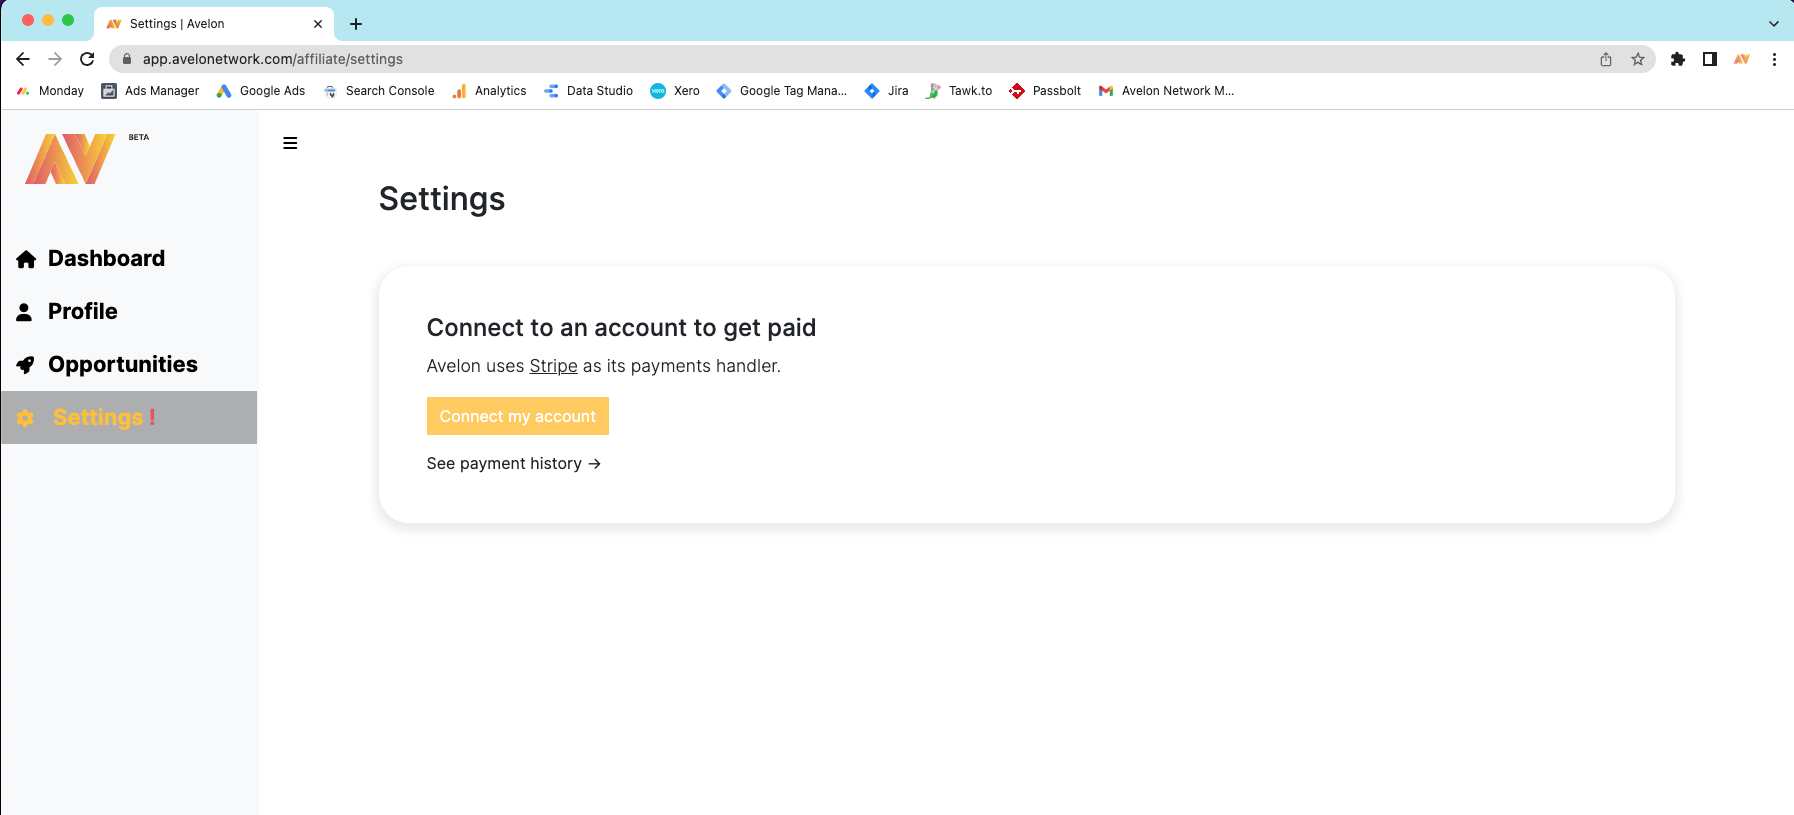
Step 4 - Connect Your Bank Account
Connect your bank account to get paid through our partner integration with Stripe. Payments are automated and you get paid the end of the following month. Click 'connect my account' and it'll take you through the necessary steps to connect your bank account.
Once you have completed this step, the red exclamation mark next to the Settings tab will disappear.
Step 5 - Start Applying for Affiliate Programmes
Click Opportunities on the left hand menu and you'll be taken to the opportunities tab. You'll see a list of brands / retailers who have affiliate programs open for application.
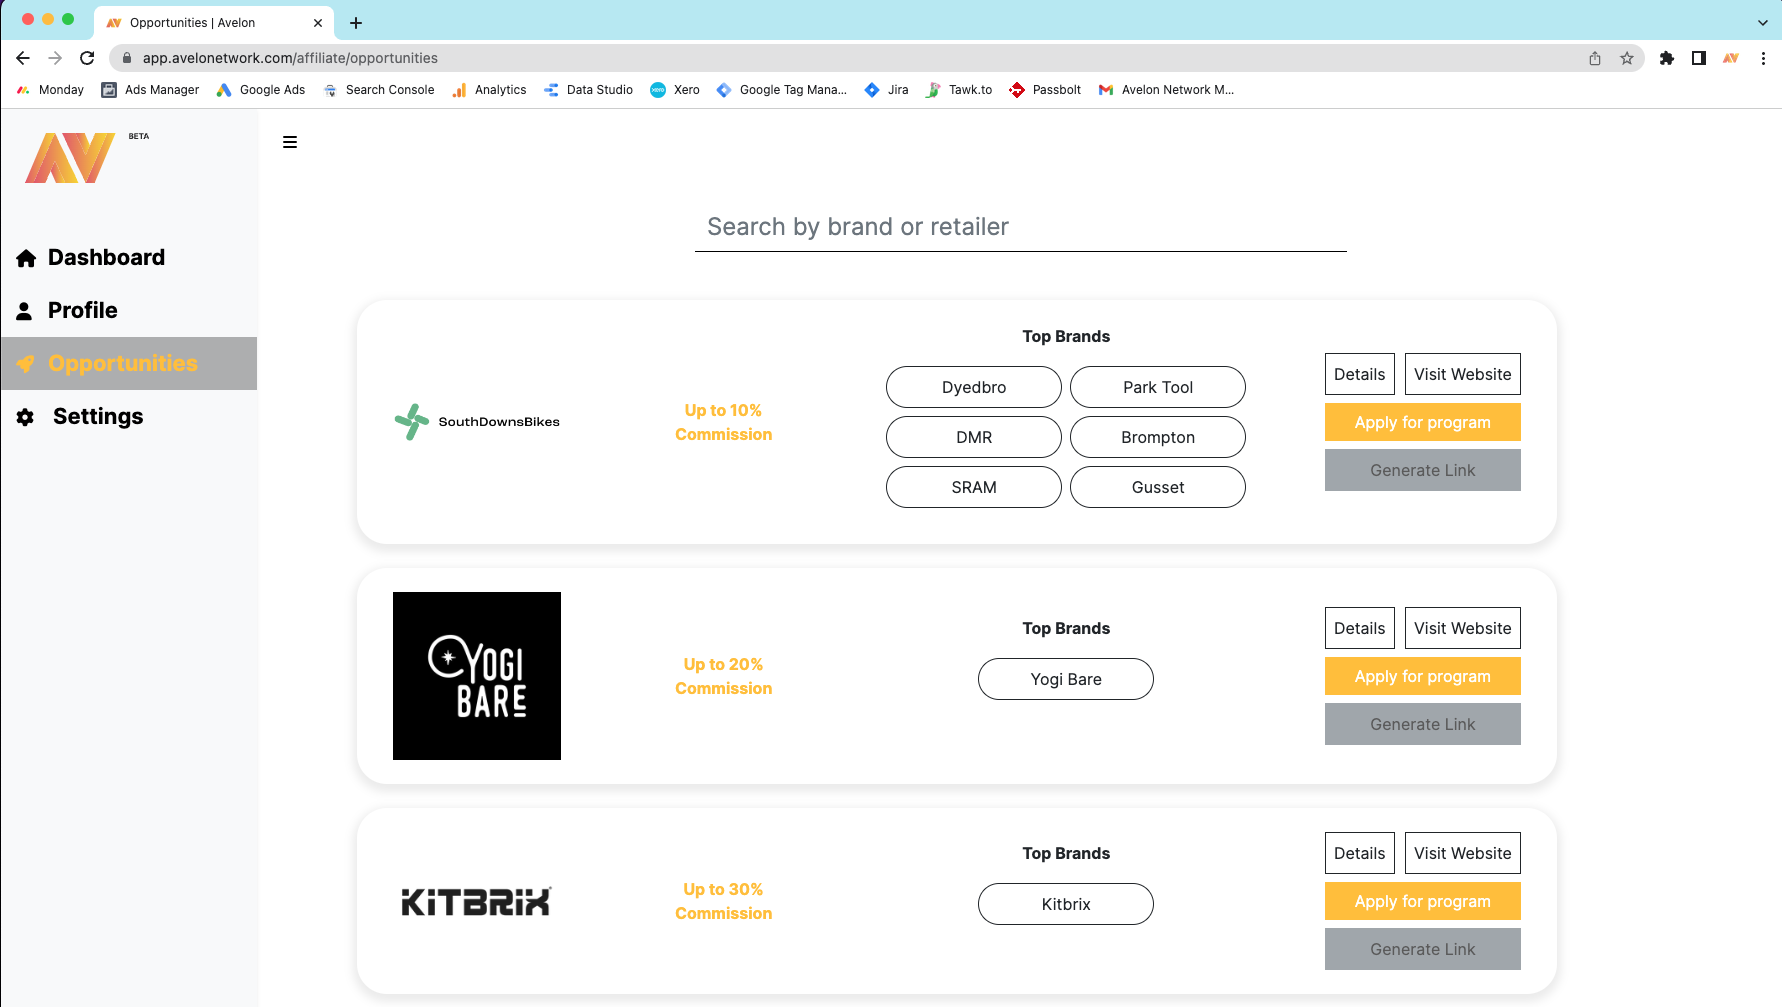
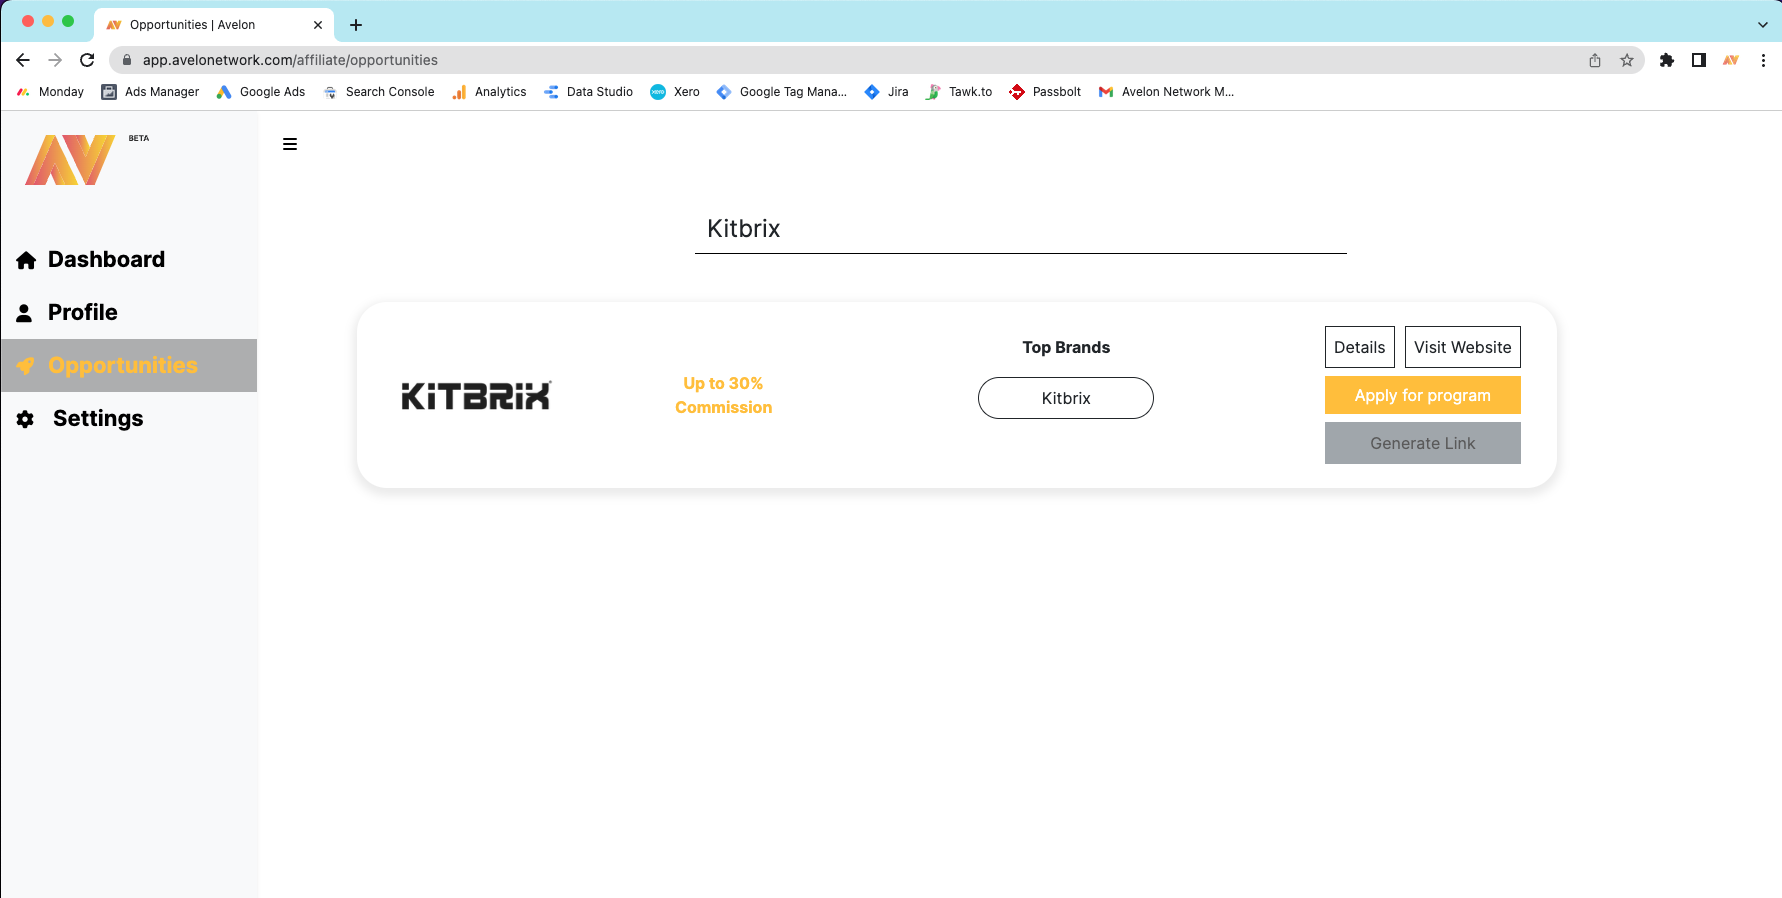
Find an affiliate program you like the look of. For this example, we've searched for Kitbrix, the sports bag company, via the top search bar.
When you get to this stage, you can either view their details, visit their website or apply for their program.
Details will take you to their affiliate profile, outlining their terms & conditions, product specific commissions and a bit about them.
Visit Website will take you to their website.
Apply for program will allow you to apply for their program.
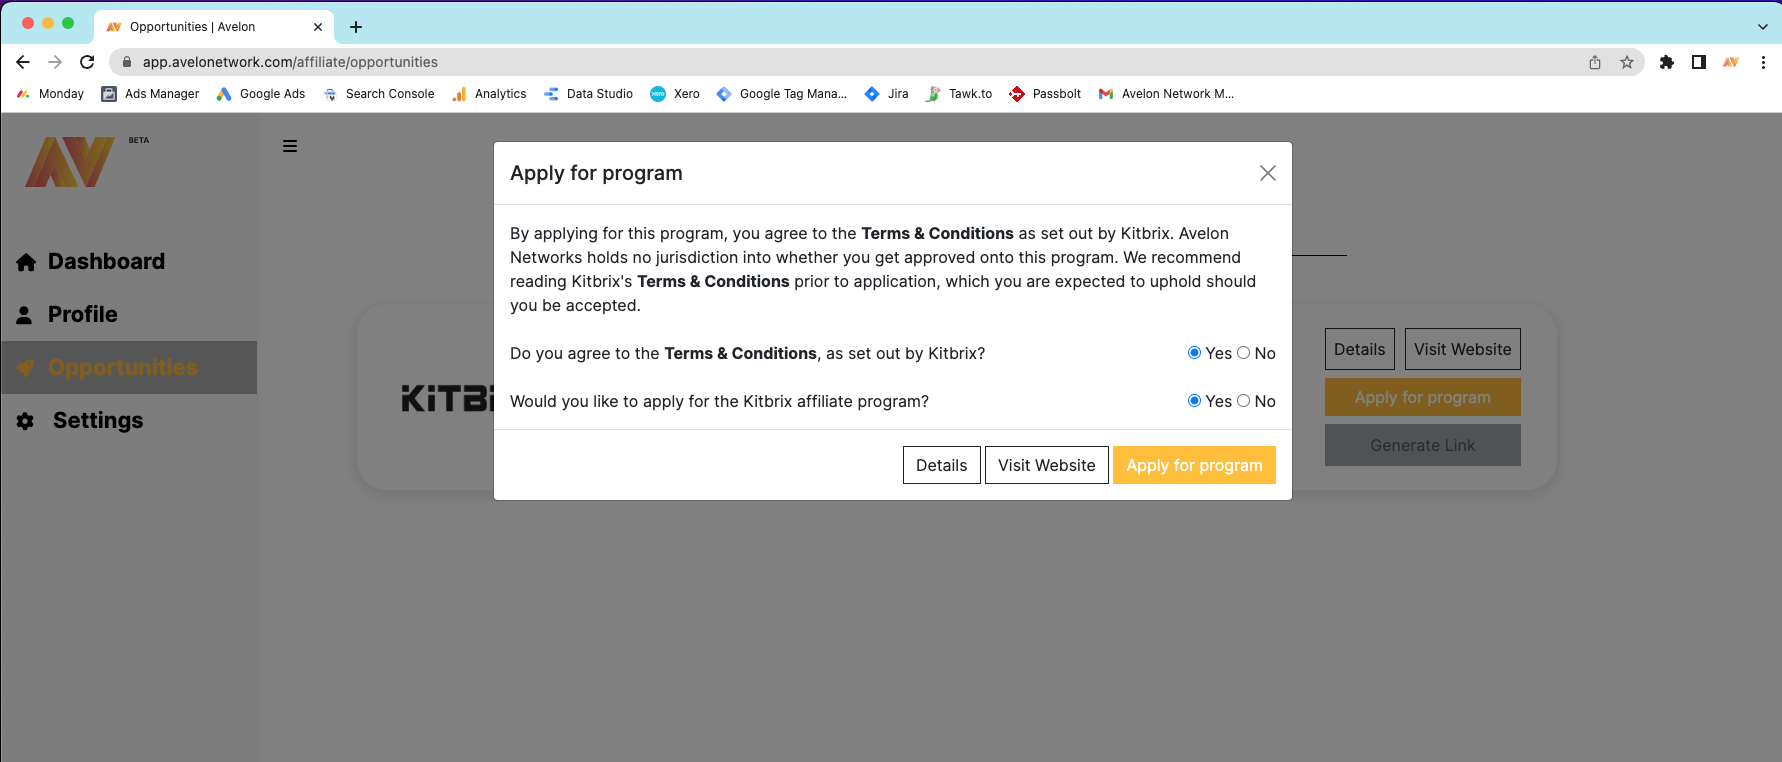
When you click Apply for program, it'll open this pop up window.
Agree to their terms & conditions and confirm you want to apply for their affiliate program and the Apply for program box will turn from grey to yellow. Click Apply for program.
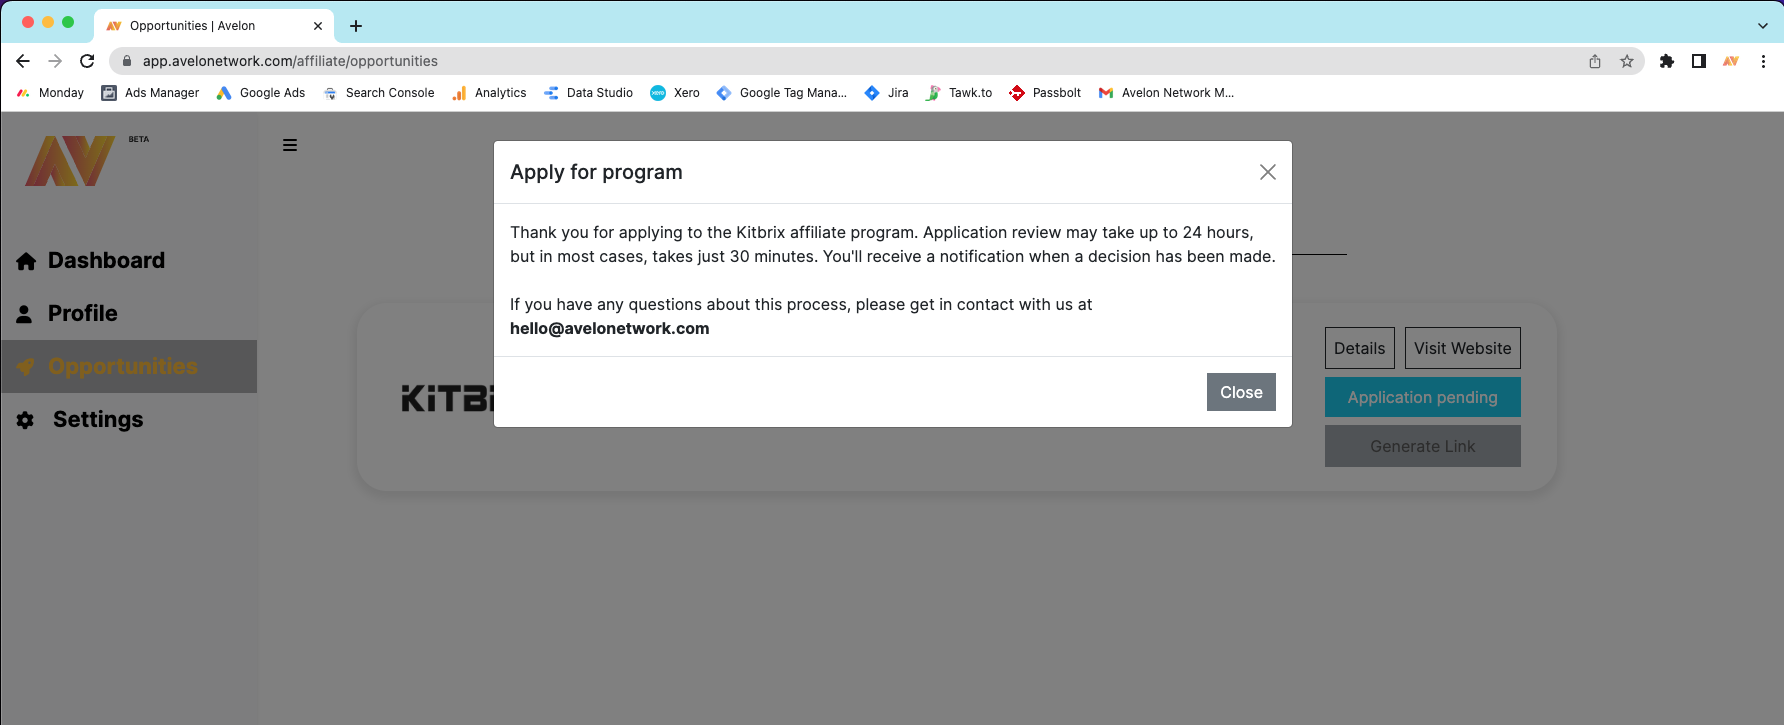
This statement will appear once you have clicked the box. Close the box and the Apply for program button will have changed to Application pending. Once the brand has approved your application, you'll be able to start generating links.
Step 6 - Start Creating Links
Once you have been approved onto a program, you can start generating links for the program and you are now classed as an affiliate.
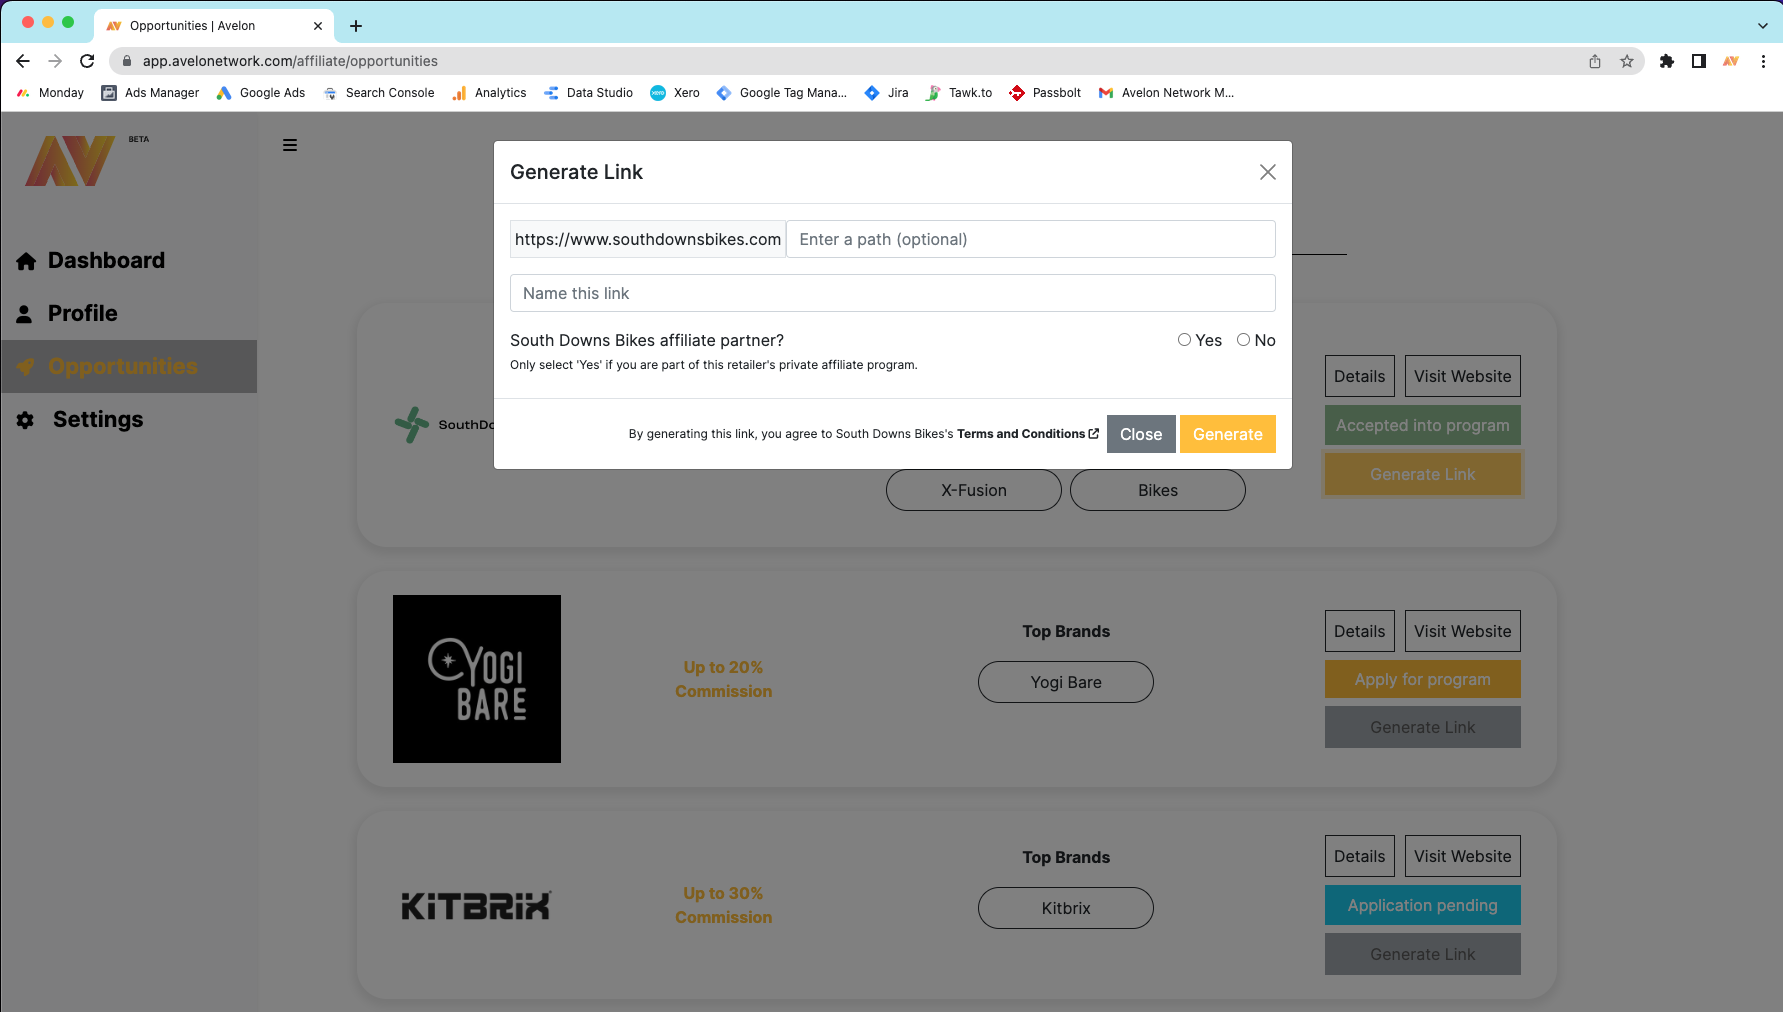
Head back to the opportunities main page and the Application pending button will now have turned green, meaning you have been accepted onto the program. Click Generate Link and a new pop-up box will open.
You'll be asked to enter a path (URL) into the box and to name the link. Paste the full URL into the box and name your link. Naming the link is just for your internal use, allowing you to easily search and find links. Name it something useful.
The Yes / No box will ask you whether you are an affiliate partner or not. An affiliate partner is someone who has arranged to become an affiliate outside of the platform, i.e you will NOT receive commission payments for any sales made. This option is for brands who want to track the sales an ambassador / affiliate brings to the company, but has agreed NOT to pay them any commission.
Click NO if this does not apply to you and you want to earn commission from your sales.
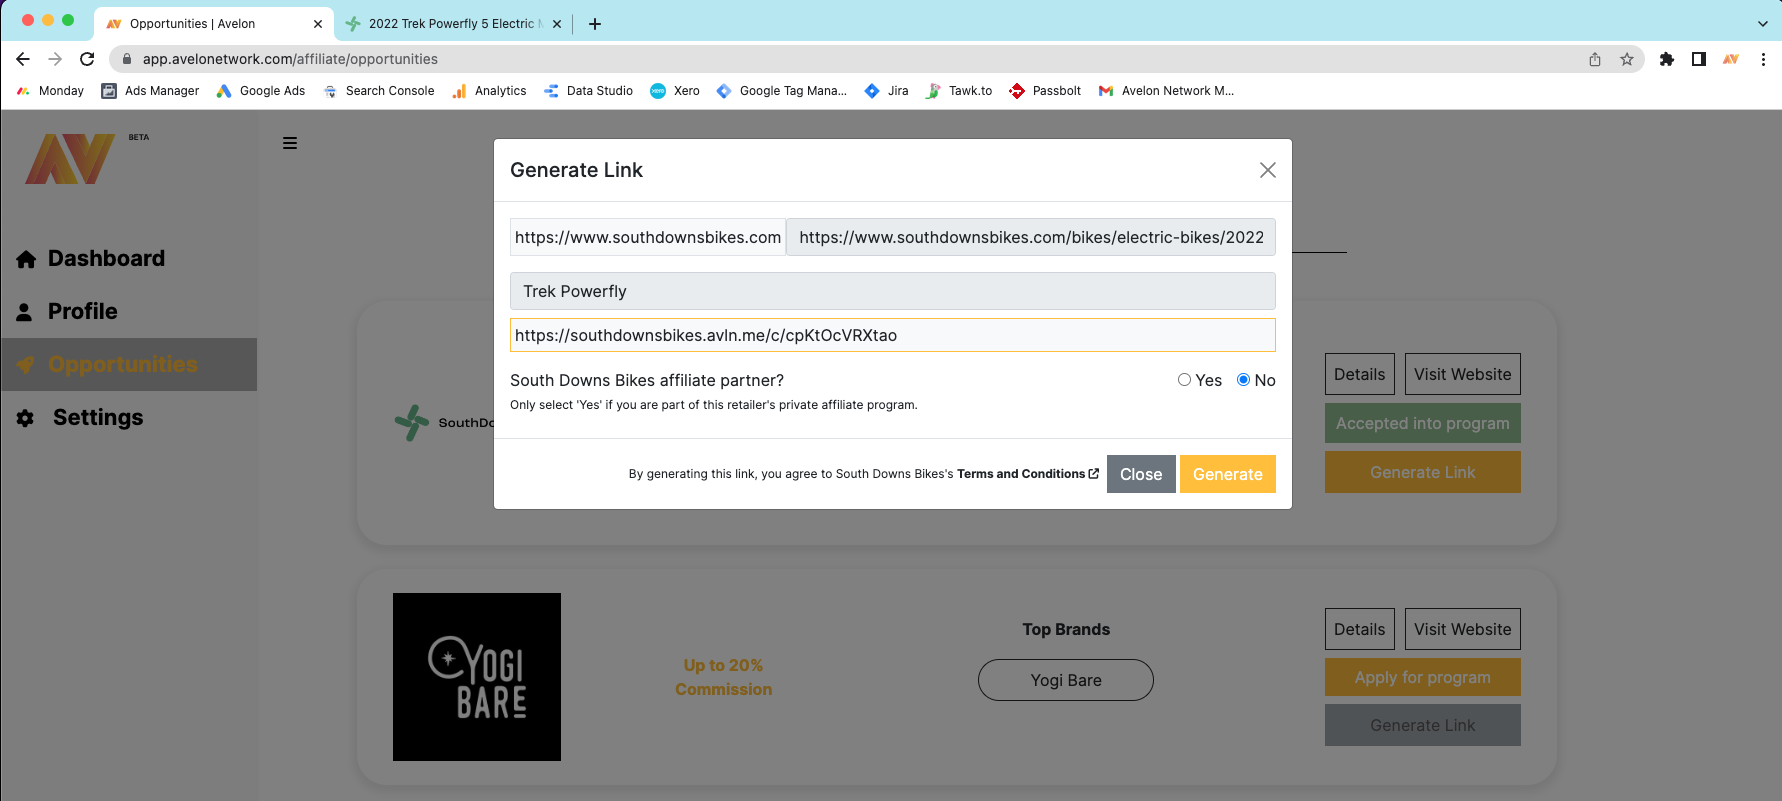
Click Generate and a new URL will appear below the Name The Link box. Click this and it will copy the URL for you.
Step 7 - Go and Post Your Link!
Now you've created your link, go and spread it far and wide.